Modelling
Scene Setup
First and foremost: Up-Axis is the Y-Axis!
Furthermore, you can work with any unit you like but in real-life scale. Default units that we use are cm, therefore, if you are using different units, remember to apply a correct scale setting when uploading the model.
Naming Conventions
Don't use any special characters (only an underscore "_" is allowed) for mesh-, material-, texture- and filenames.
Also, try to keep naming patterns short, simple and meaningful. For your own's sake :)
File Formats
The ViewAR System accepts polygon models in 3D files formats of .fbx and .obj.
Polycount
The ViewAR System can handle objects and scenes with up to 800k Tris, however, it also depends largely on the platform/device which is going to be used. An older iPhone or iPad won't be able to handle such a high polycount model, while the Web version would still have a good performance.
Refer to the following examples of well-optimised models with Tri-Count, plus a suggested maximum for similar assets: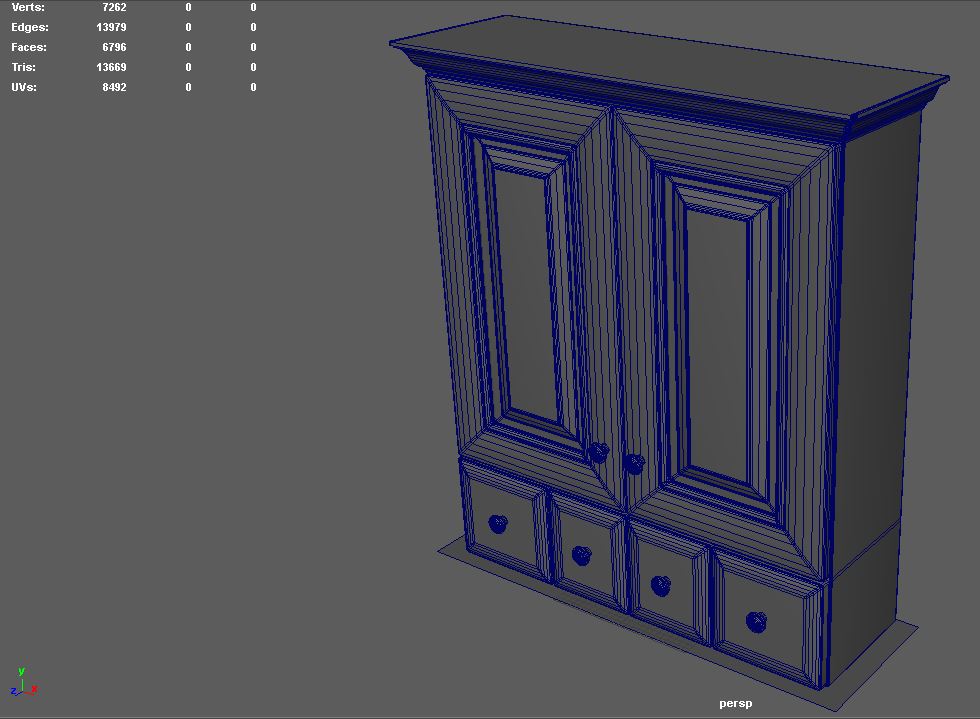
Keep in mind that this cabinet's interior is also modelled. Simple hard surface objects, like cabinets, don't need a lot of polygons to look good. Try to keep it below 50k triangles.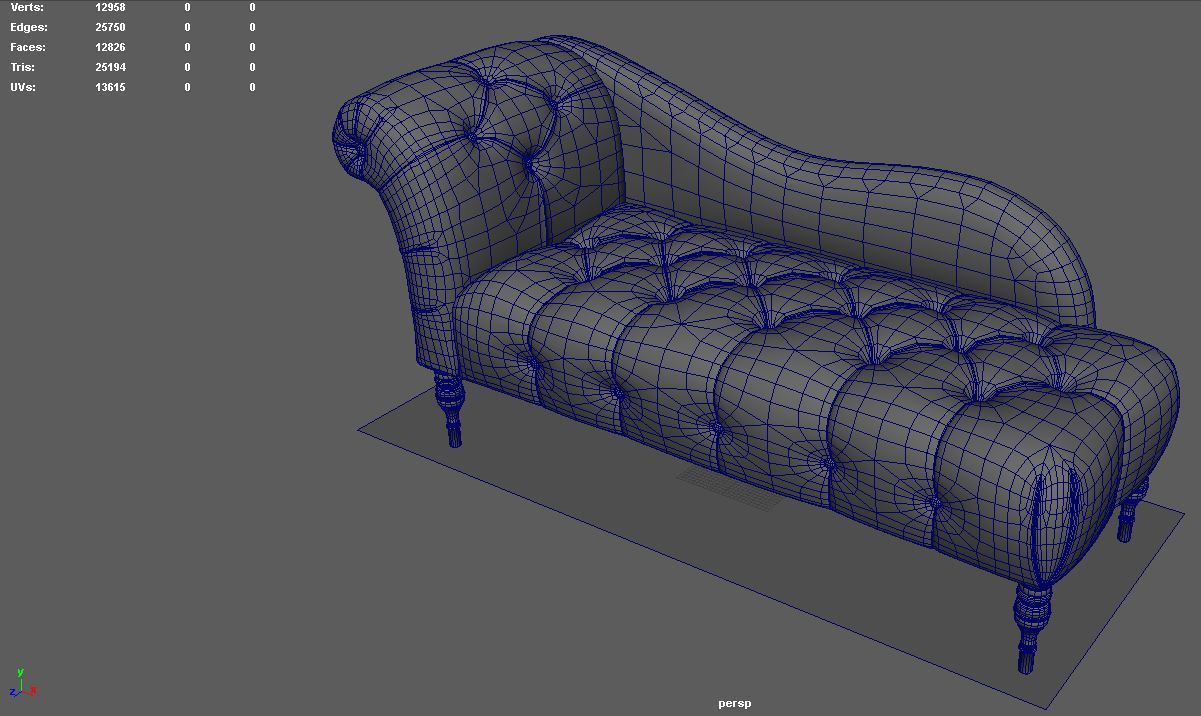
For complex geometries, like the sofa above, use polygon density differentiation. Try to stay below 200k Triangles. If needed, try baking smaller into the ambient occlusion map.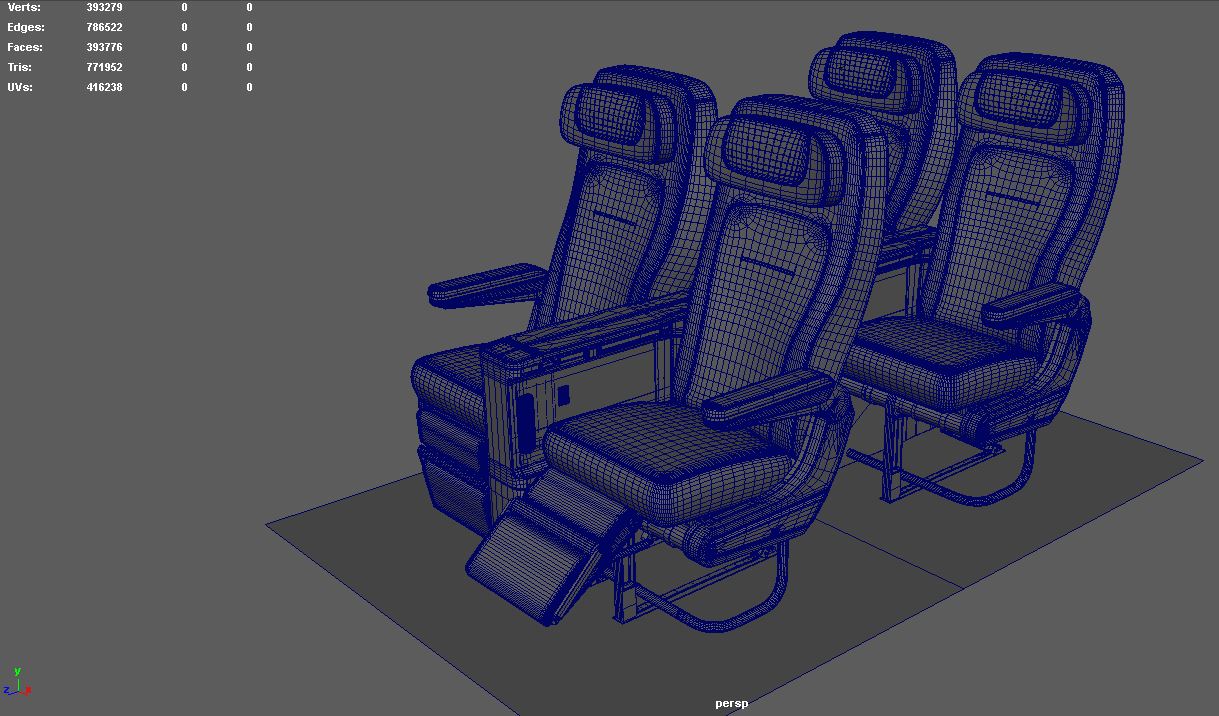
Sometimes even more complex models are needed, be aware that this can cause performance problems and crashes with older platform.
Polygon Distribution and Edgeflow
Always try to keep your models optimised and avoid unnecessary subdivisions. A higher polygon density makes sense on detailed surfaces, such as folds, seams, round shapes etc, but not on flat ones. More Polygons, if they support the shape, less if they don’t the shape should be still looking good in close-up.
It makes sense to model elements like seams or stitches in such a way that you can better hide uv-cuts.
A good edgeflow can significantly improve shading and make objects easier to edit/adjust/fix/improve. Try using bevels for hard edges, as they improve shading and baking of maps, at the same time having the same performance impact as hard edges (the vertices get split up in the rendering engine either way). Furthermore, try to model with quads if possible and turn to _tris _as a last resort only. Triangulation may fix issues mentioned below, however, they may make future adjustments hardly possible. In any case, keep a copy of your quad-models before triangulation.
A chair, that is used somewhere in an architectural building, also doesn't have to be as detailed as a chair that is the main asset in the presentation.
Don'ts
no faces with more than four sides (triangles and quads only, quads preferred)
no concave faces
no faces with holes
no non-manifold geometry
no lamina faces
no zero length edges
no zero geometry area faces
All of those can, but don’t necessarily have to cause issues for the converter/app.
Hint: ( in Autodesk Maya: Select Object -> Hold Shift -> Hold Rightclick -> Clean Up )
UV Unwrapping and Layout
Use Checker Textures to test your models texture distribution
As little as possible texture distortions (patterns might be used)
As little as possible texture cuts (Try to hide UV Cuts in the geometry, inside folds for example)
We use a two uvset workflow. The first uvset (uv0) for tiled textures which can be overlapping and the second (uv1) for ambient occlusion or other maps that have to fit in the uv 0-1 space without any overlapping faces. Textures should be scaled by scaling the uvs in uv0 or later when setting up materials in our material editor.
UV0: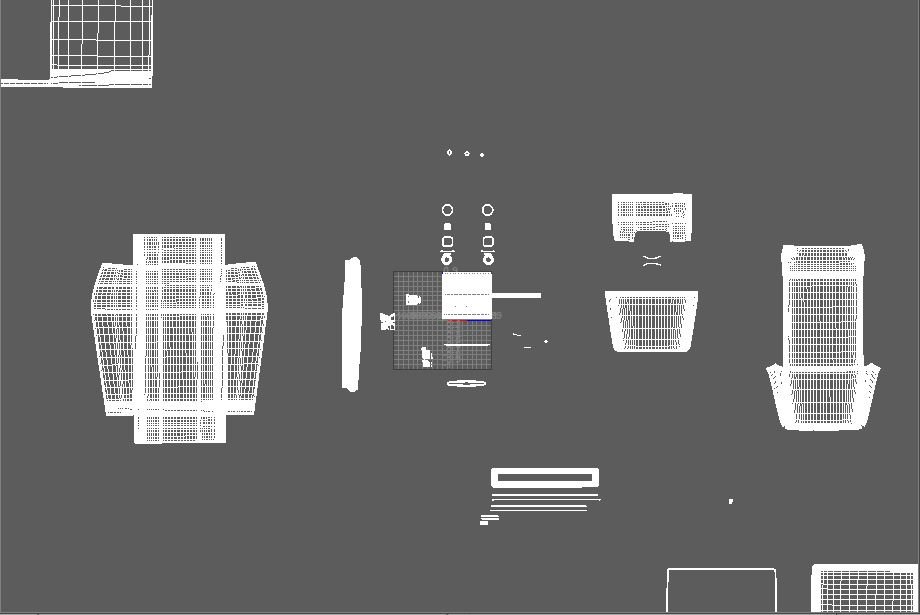
UV1:
Pixel Density should be consistent for tiled textures (they still need to be sharp at closeup)
Pixel Density should be optimized for ambient occlusion map (invisible/hard to see surfaces don’t need as much texture space)
| Hint: All faces need UVs! Otherwise parts or the whole model would be invisible. Even if you don't plan on assigning any textures, make sure to map UVs. A planar map without regards to unwrap and layout would suffice in that case. |
|---|
Materials
Make sure to assign materials to surfaces which should later be set up in the Material Editor.
At this point, our converter only supports Phong and Lambert, therefore, if you set up different shaders, for example vray, all your settings will be lost and the conversion may fail.
If you want to set up Textures beforehand, read more about it in the FBX Setup Tutorial: http://wiki.viewar.com/pages/viewpage.action?pageId=1179802\