Insert drone
In this part you'll fetch a ready drone model (including animations) from the repository and make it hover in front of the user. If you aren't familiar with working with the instances, it's a good idea to read up on it first.
Fetch model from repository
Still in the useEffect function, use the ViewAR API functionality to fetch the drone 3D model from the repository.
const droneModel = await viewarApi.modelManager.fetchModelFromRepository('74334');
Define the drone's initial position and set it to the instance in the scene. It's a good idea to get and use the pose in front of the camera in order to position the drone in the field of view of the user.
const pose = await viewarApi.cameras.arCamera.getPoseInViewingDirection(2000, true);
Insert an instance of the model into the scene:
const instance = await viewarApi.sceneManager.insertModel(droneModel,{pose});
setInstance(instance);
Start the instance's animation (optional)
Some models come with incorporated animations. In order to preview the animations available for the drone model, you may use the ViewAR Single Product App.
They may be accessed through the modelInstance object. In this case, let's stick to the Hover animation.
await instance.animations.Hover.start({ loop: true });
At this point, your code should look similar to this:
  useEffect(() => {
    (async function() {
      // Activate AR camera
      await viewarApi.cameras.arCamera.activate();

      // Activate tracking (if tracker available).
      if (viewarApi.tracker) {
        viewarApi.tracker.on('trackingTargetStatusChanged', updateTracking);
        await viewarApi.tracker.activate();
      } else {
        setTracking(true);
      }

      // Get the drone model
      const droneModel = await viewarApi.modelManager.fetchModelFromRepository(
        '74419'
      );

      // Get pose in front of camera (to position drone in front).
      const pose = await viewarApi.cameras.arCamera.getPoseInViewingDirection(2000, true);

      // Insert the drone instance
      const instance = await viewarApi.sceneManager.insertModel(droneModel,{pose});
      setInstance(instance);

      // Start drone hover animation.
      await instance.animations.Hover.start({ loop: true });
    })();
  }, []);
Test it!
At this point, you should be able to run the app on you mobile device and see the image from its back camera with the drone hovering in front of the device.
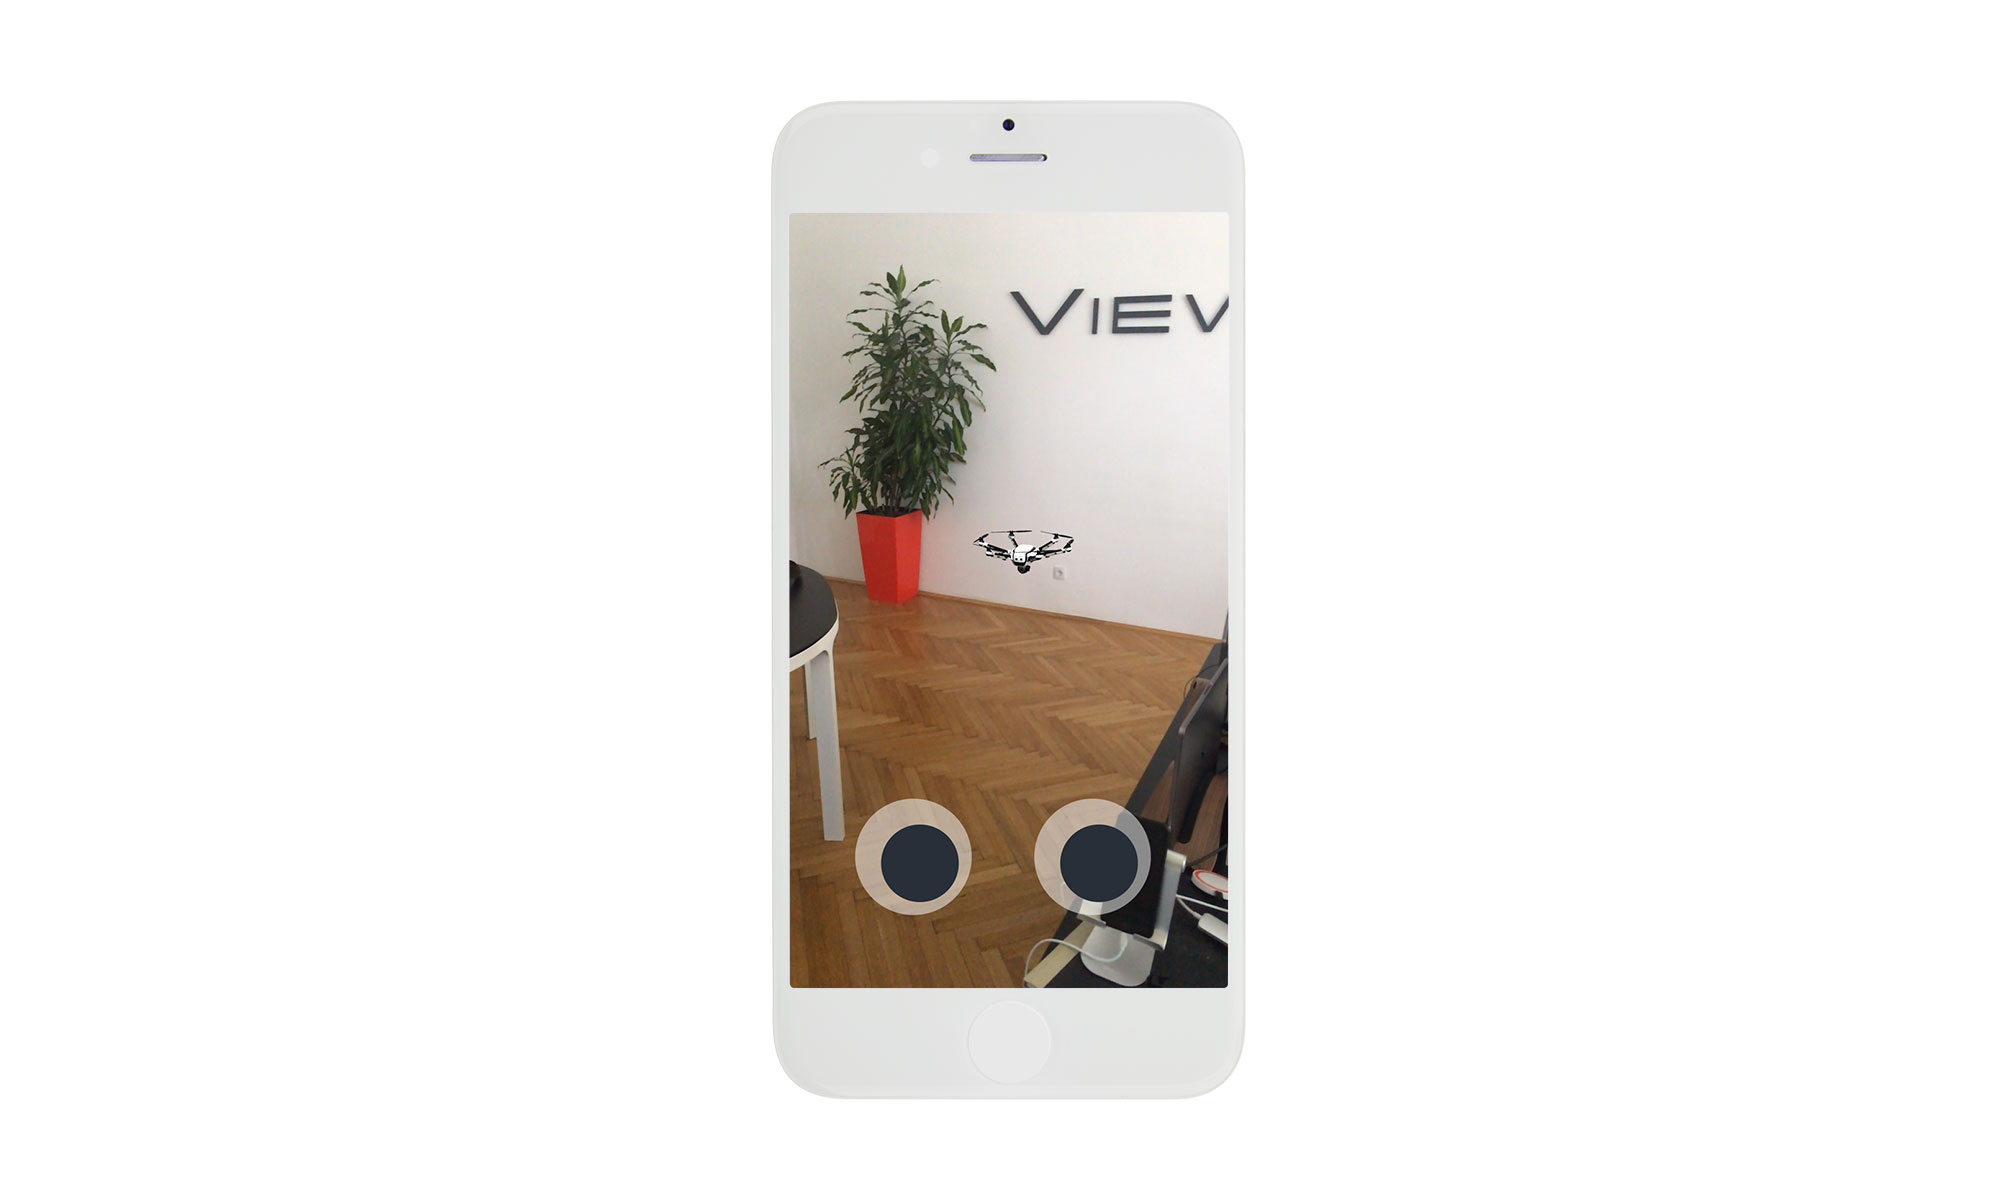 Screenshot from the Drone Control App