Handling joystick input
Now, that we've got the drone hovering in front of the user, we'll use the information from the joysticks to influence it's behavior. Real-life drone movement is a complex topic, therefore, for the purpose of this tutorial, we'll stick to applying axial transitions.
Right joystick - vertical position
Let's use the right joystick to control our drone's position on the vertical axis. We want the model instance to move up or down every time an input from the joystick is received. It will be handled with a function called handleRightJoystickInput.
Hint
Because the joystick is 2D, the function will take two parameters (x,y), however, it will use just the vertical coordinate (y). We could skip the (x) value by creating a custom joystick component, however, in this excercise we're re-using the same component for both controls, so let's keep it this way.
The joystick returns (x,y) values in the range of -1.00 to 1.00, depending on how far away from its center it's moved. We want these values to be converted to the scale of -10mm to 10mm, hence the multiplication.
const handleRightJoystickInput = ({ x, y }) => {
  const pose = instance.pose;

  // Update height.
  pose.position.y += y * 10;
  if (pose.position.y < 0) {
    pose.position.y = 0;
    }

  instance.setPose(pose);
};
Left joystick - orientation
Let's use the left joystick to control our drone's orientation. This step is slightly more tricky, but stick with us, it won't be long!
What we need to do:
- Import the necessary math components (
Quaterion,Vector3) , - Store our drone's
orientationas a Quaternion, - Convert the
orientationvalues into Euler angles, - Convert the Quaternion values of
yawto radians, - Calculate the rotation change to be applied to the drone instance (in radians, preferably setting a multiplication factor to make the change more distinct) and store it in a new constant value
- Apply the new orientation value to the model instance
Import the neccessary math components:
import { Quaternion, Vector3 } from './math';
Handle Left Joystick Input:
const handleLeftJoystickInput = ({ x, y }) => {
  const pose = instance.pose;

  // Update orientation
  const orientation = new Quaternion(instance.pose.orientation);
  const { yaw, pitch, roll } = orientation.toEulerAngles();  // convert the Quaterion values to Euler Angles

  const rotationOffsetDegrees = x * 4; // every joystick move in "x" will result in a change of the absolute value of 4deg
  const rotationOffsetRad = rotationOffsetDegrees * Math.PI / 180  // convert the Euler Angles to Radians

  const newOrientation = Quaternion.fromEulerAngles({
    yaw: yaw + rotationOffsetRad,
    pitch,
    roll,
  });

  pose.orientation = newOrientation;

  // Apply pose changes to the model instance
  instance.setPose(pose);
};
Test it!
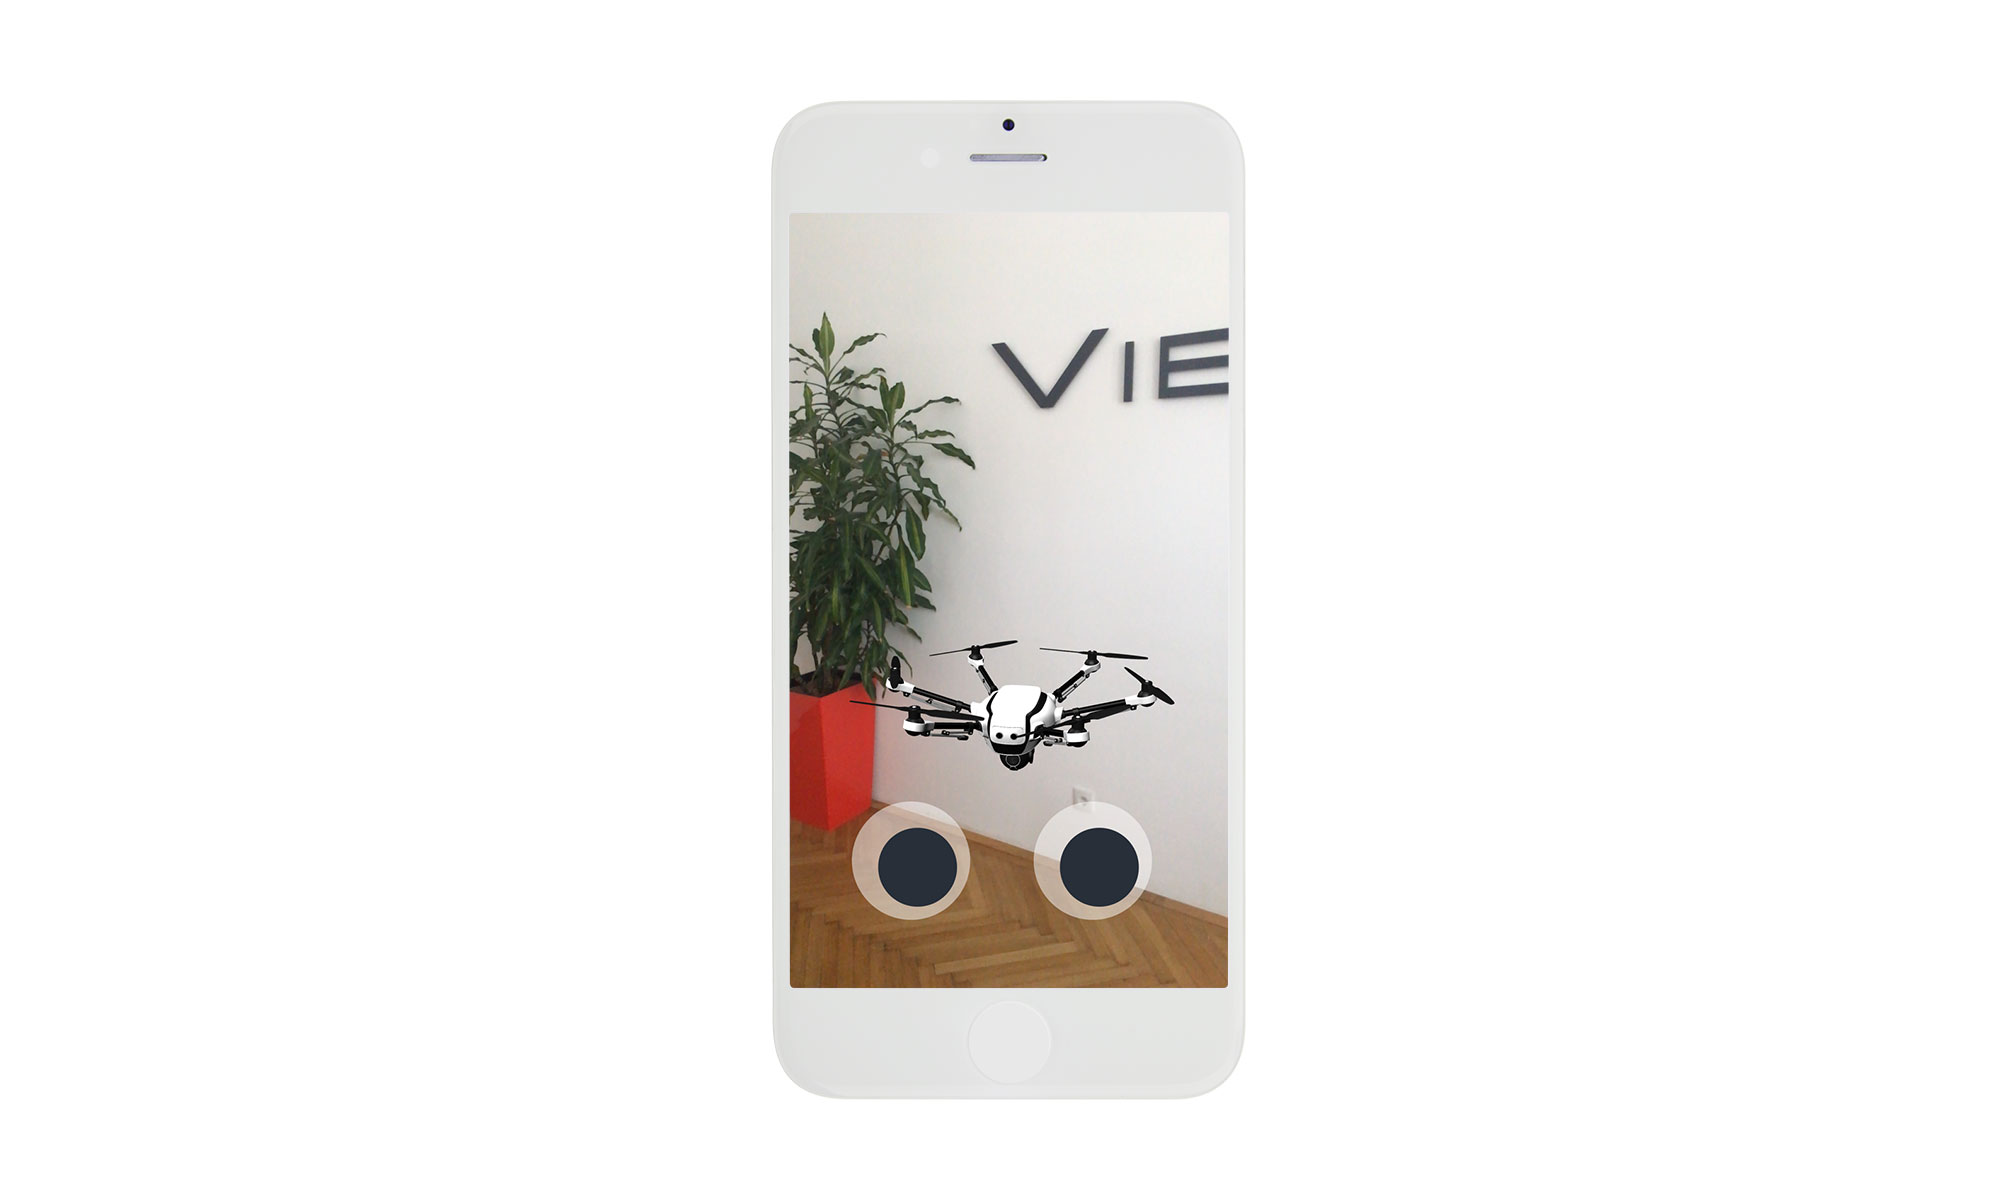
At this point, you should be able to manipulate the drone instance's position with the use of the joysticks.
 Screenshot from the Drone Control App
Got everything working? Great, you're free to go play around with the App already!
Want more..?
In case you're craving for something extra, check out the Advanced settings and make the drone fly in its looking direction.
< Previous Step | Next Step (Advanced) >