Content upload
The ViewAR System provides a web interface for model upload and management.
Register / Login
Create a free account and login on: http://developer.viewar.com/user/login
Create / Edit Category
Go to the Content tab, select Categories and create a new Category.
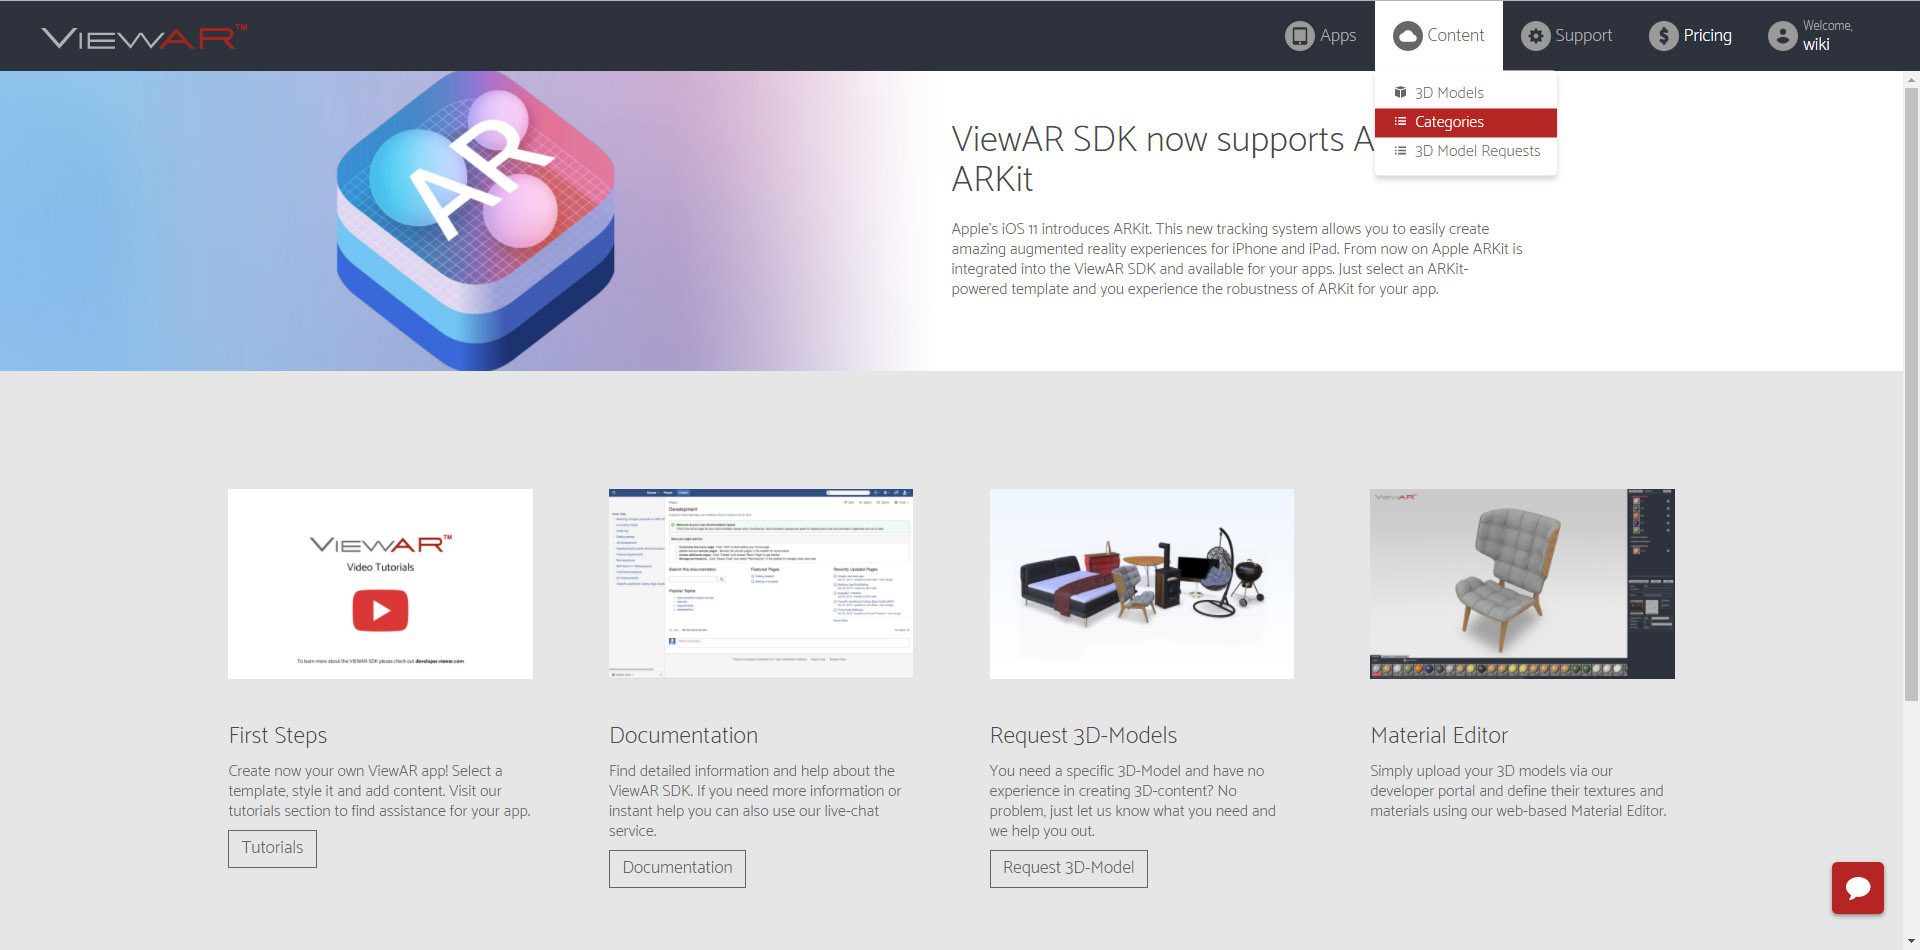
Click on + Create new category:
![]()
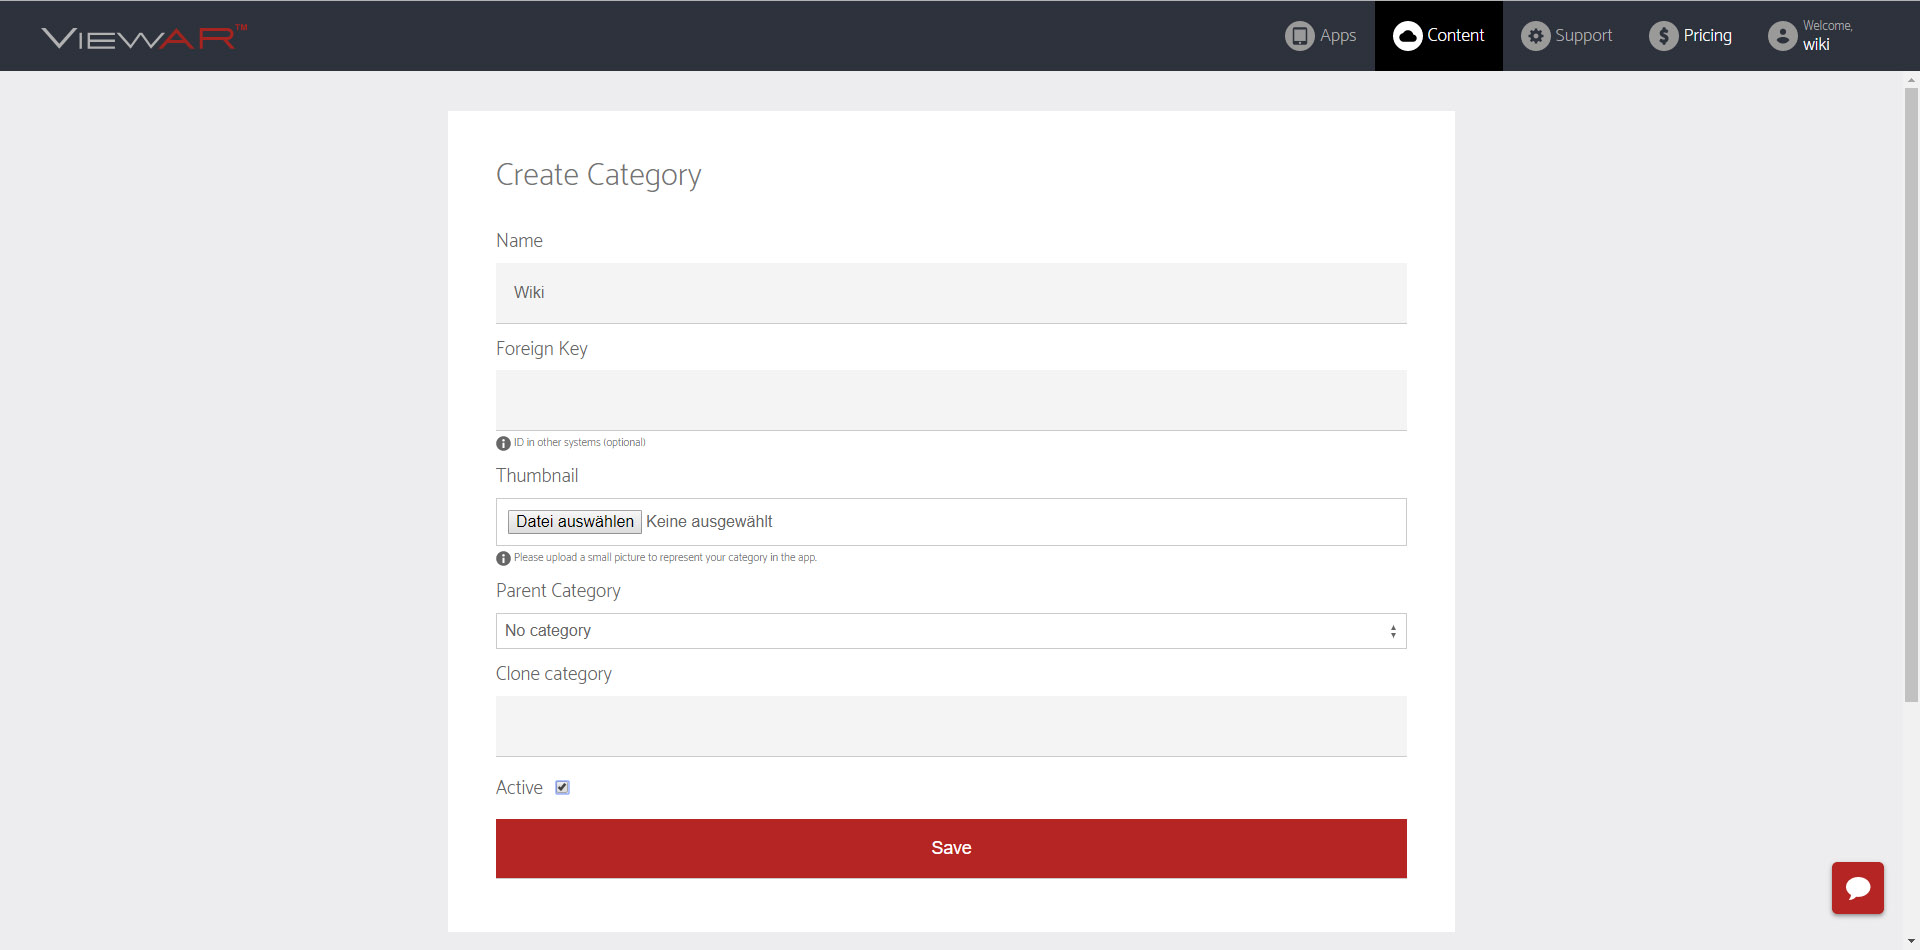
Fill in following data:
Name: Input your Category name here
Thumbnail: Upload your Category Thumbnail here (.jpg or .png)
Parent Category: Select a parent category if you want to create a sub-category
Active: If you want the category to be visible in your app, check.
Save!
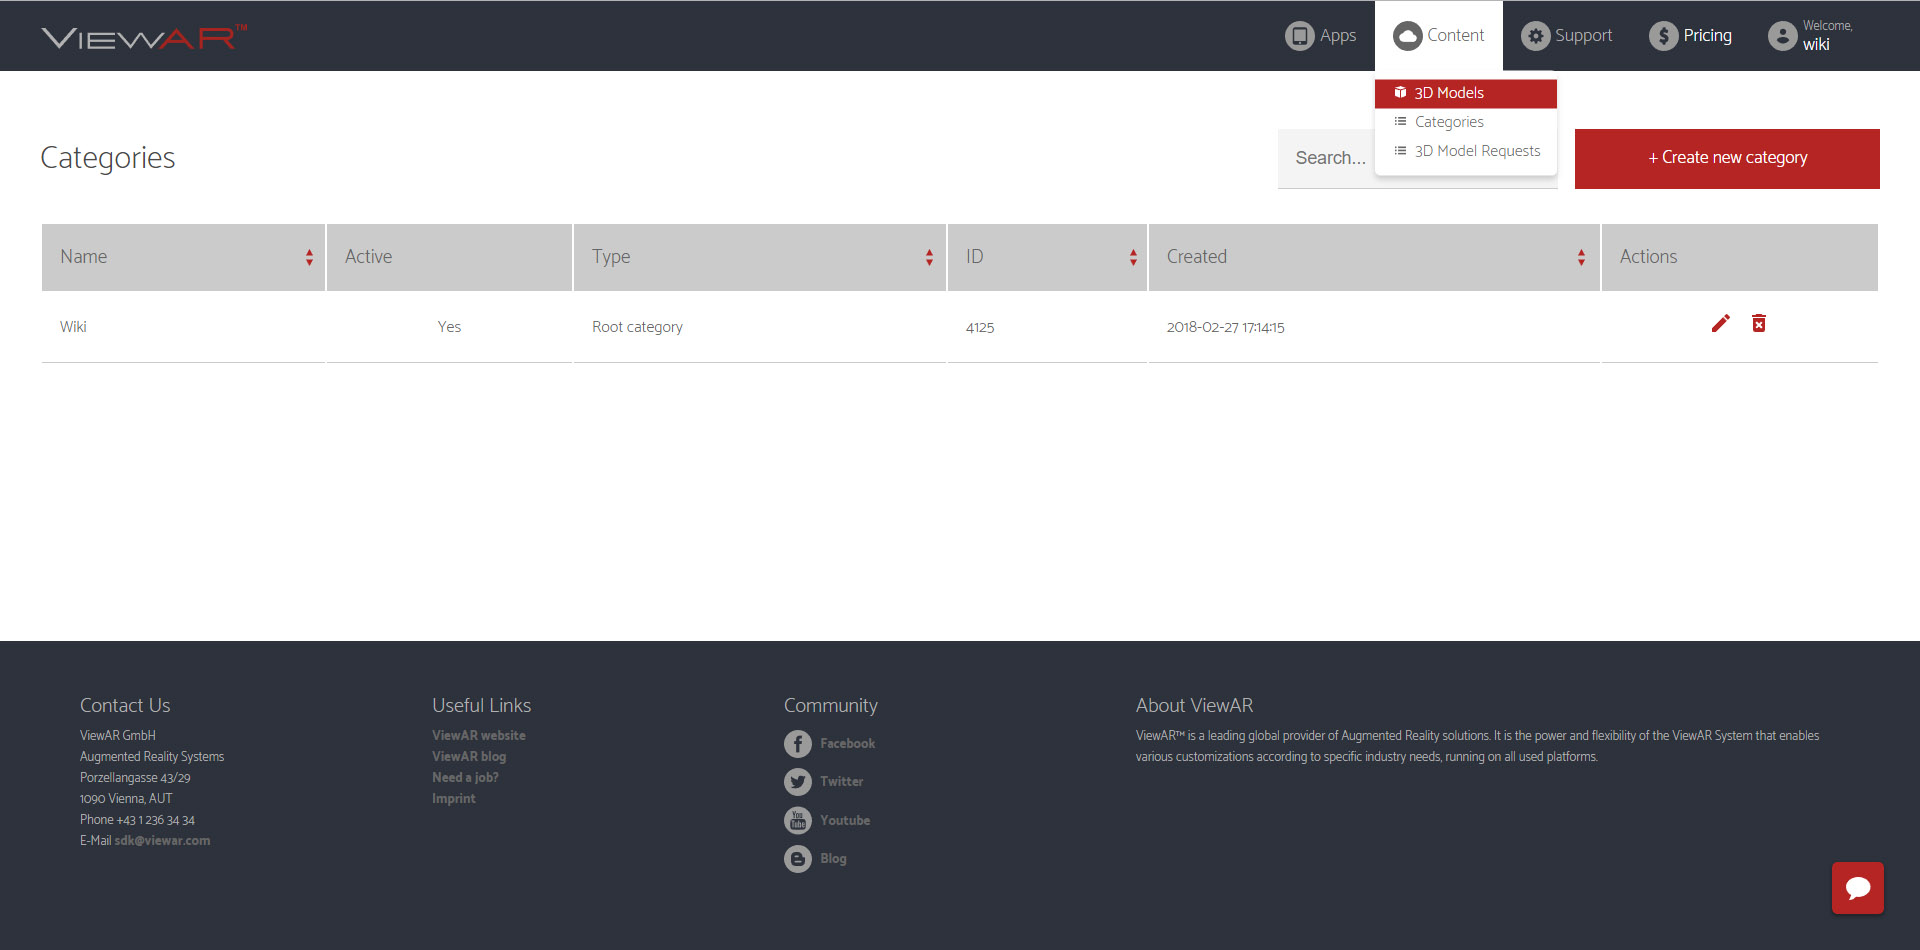
3D Models:
To go to the model section, go to "Content" and then click on "3D Models"
Uploading a model:
To upload a new Model, Click on Upload new model:
![]()
![]()
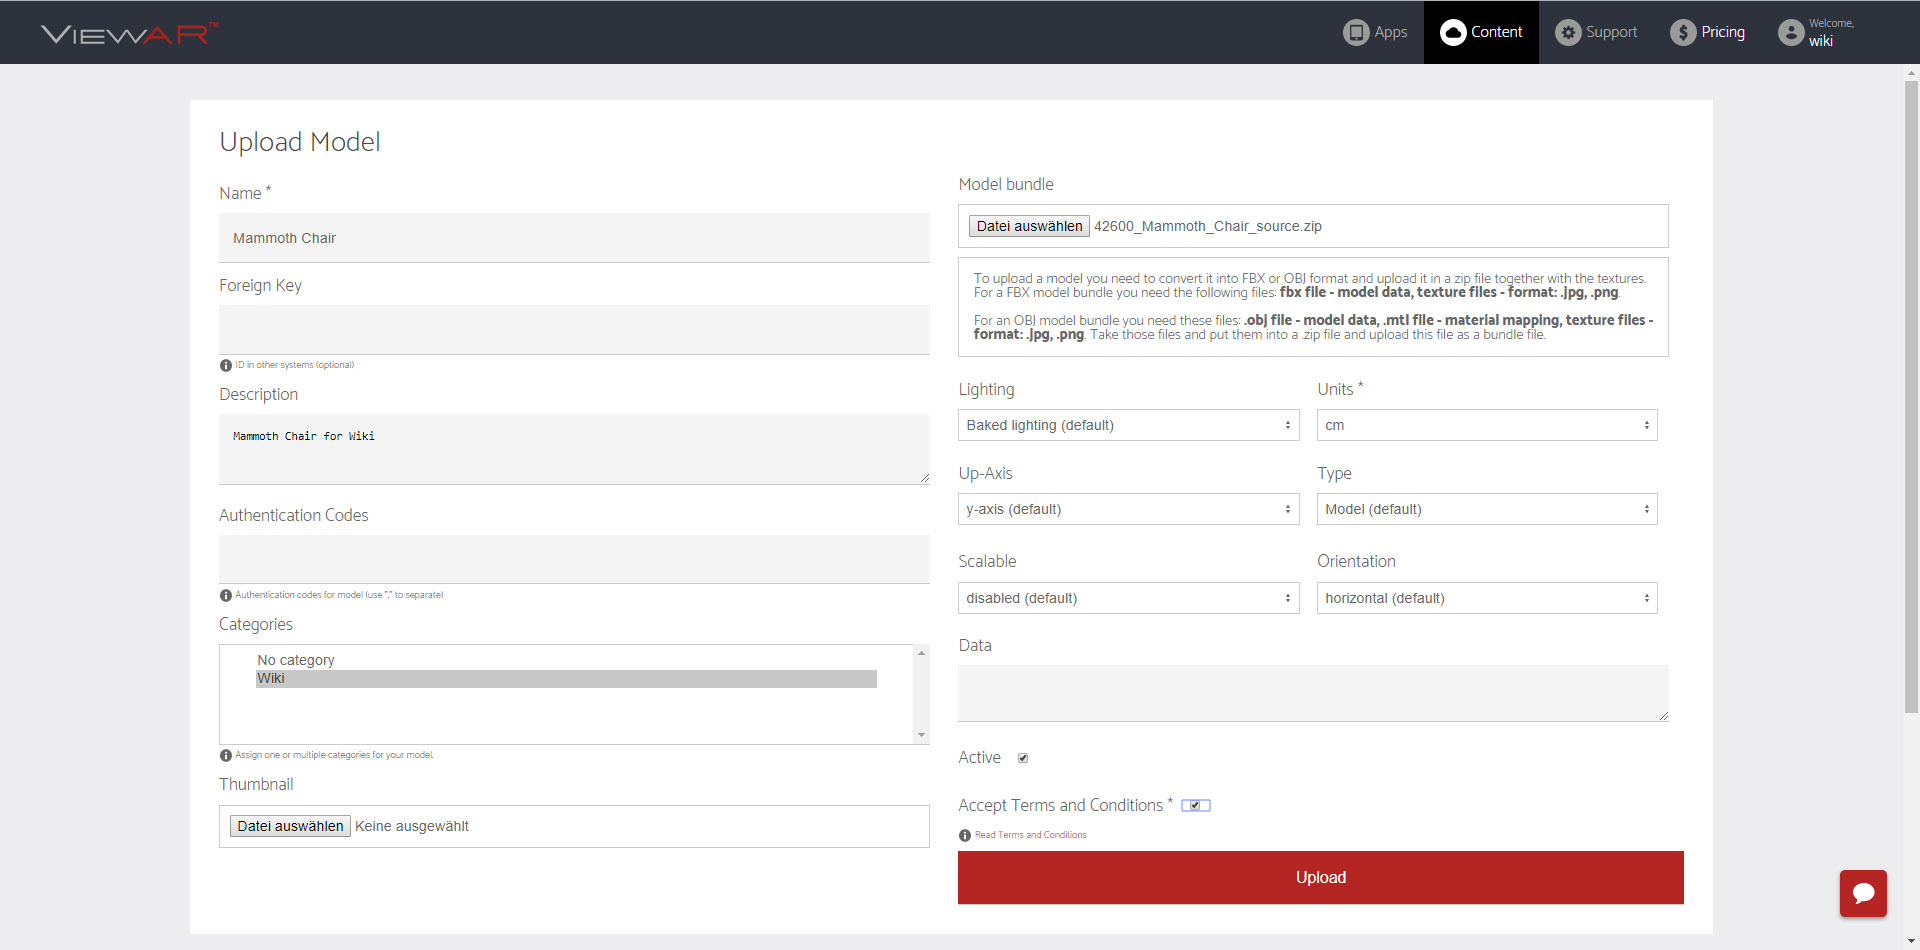
Name: Choose a name: “Brand - Item Name”
Description: Enter a description for your model.
Foreign Key: Enter the item ID, used by the other systems. The newest model with this Item ID can be referenced in a scene within the account.
Units: Select the unit size of your model. The default is "cm", also possible are "mm", "m", "inch", "feet".
Auth: Enter authentication passwords if needed and if models are supposed to be invisible without login. Authentication can be for example “Review”.
Up-Axis: Choose the up axis of your 3D model, either Y or Z. Default is Y.
Type: Choose Type (Model/Environment). Use model for items and Environment for rooms/apartments/walls or other objects you should not move/select. Models will collide with Environment models.
Scalable: Define if the model should be scalable in-app. Usually you don't want to allow this.
Orientation: Choose Orientation (Horizontal/Vertical). Floor objects should be "Horizontal", "Vertical" is used for objects that should be moved vertically (wall objects).
Category: Select the category for the model. Models in "No category" won't show up in-app and can only by added to the scene by ID. To create a new category, see above.
Model Bundle: Select your Model Bundle (Archive with .fbx, textures and thumbnail.jpg).
Lighting: For models with baked lighting select "Baked Lighting". "Scene lights" will use the engine lights and the standard settings from the phong shader.
Thumbnail: You can also upload a thumbnail here or update the old one. However it’s better to include it within the model bundle zip.
Active: Default on. Non-active objects won’t be visible in the app.
Accept Terms and Conditions: Required for upload
Save/Upload:
![]()
 Once the Upload is complete, you will end up in the Material Editor, for more information about the material editor, go to ViewAR Material Editor
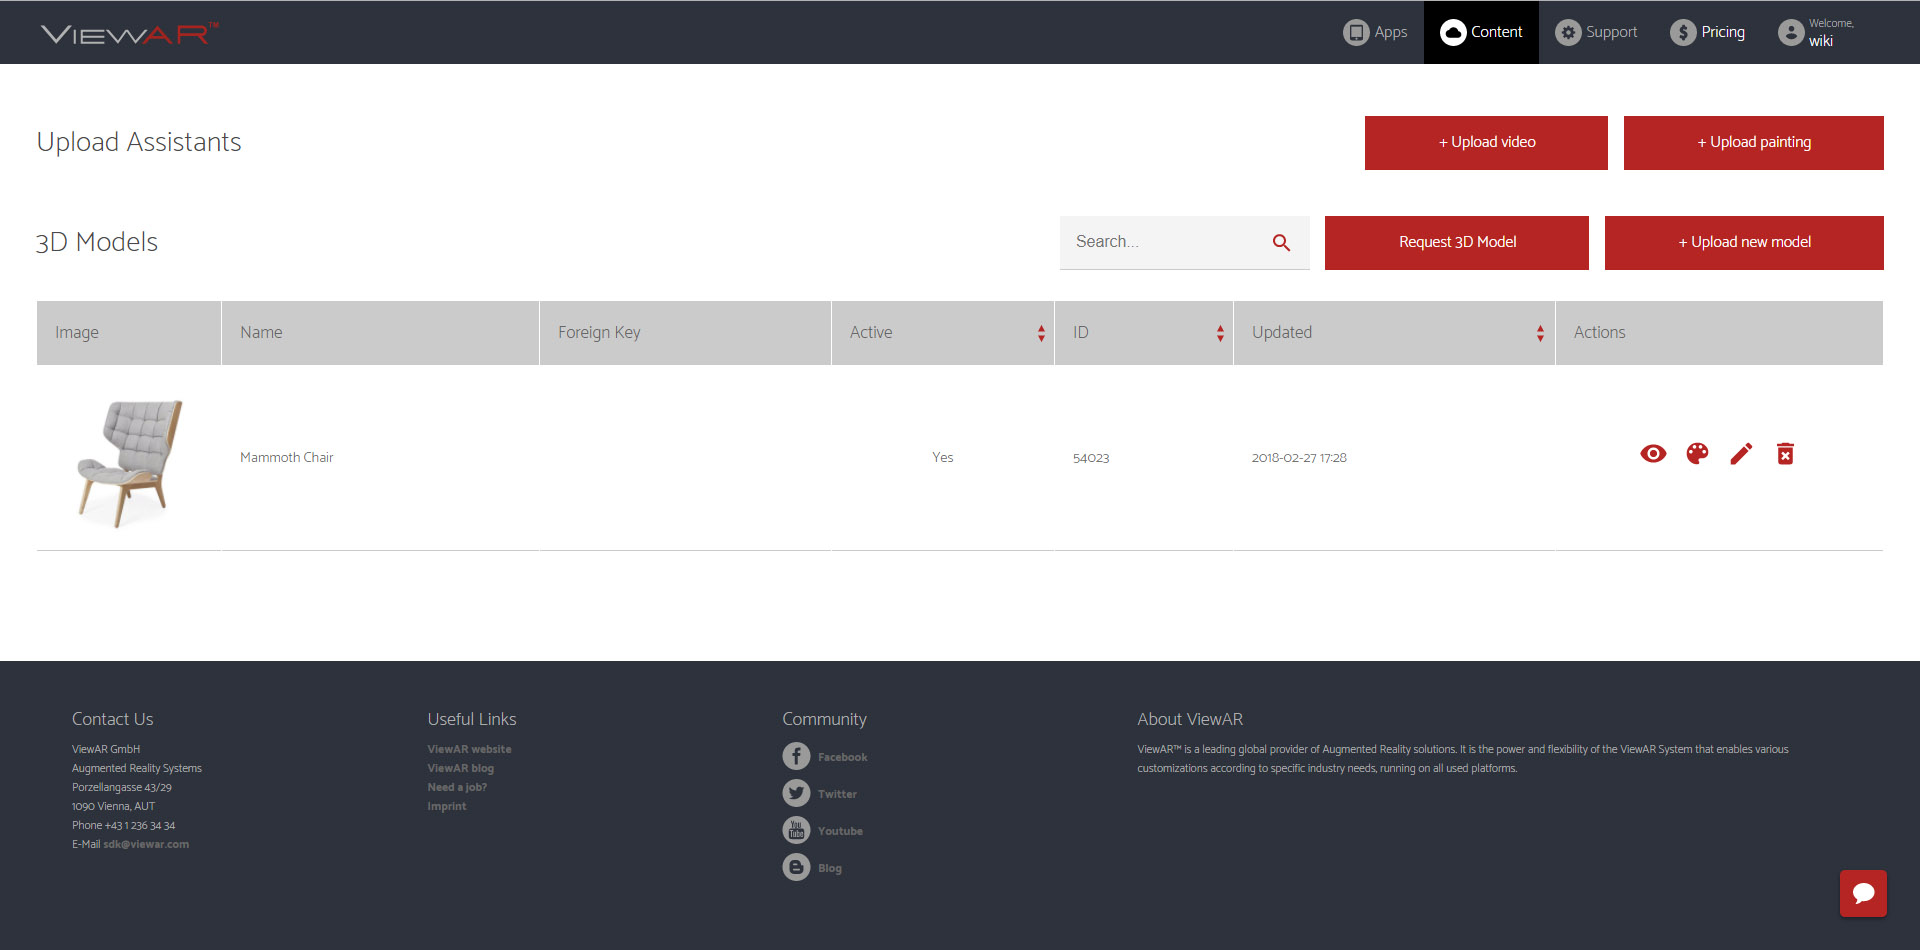
Models List:
Actions that are possible can be found in the Actions Column: Web 3D View, Material Editor, Edit Model, Delete Model (left to right)
Previewing Model: Click on the icon and the Singleproductwebviewer will open in a new tab. When in the Preview Mode:
- Rotate: Left Mouse
- Pan: Right Mouse
- Zoom: Scroll Mouse Wheel
Material Editor: for more information about the material editor, go to ViewAR Material Editor
Edit Model: Same as upload plus Data json editor. Only edit the Data json if you know what you are doing.
Delete Model: Removes the model from the list.