Activate AR tracking
Open the app.js file and find the useEffect function. If you aren't familiar with Hooks, you may want to read up on the topic first.
  useEffect(() => {
    (async function() {
      // TODO: Insert initialization code here:
     })();
  }, []);
Activate AR camera
Use the ViewAR API functionality to activate the AR camera. Notice the empty square brackets as the second argument of the useEffect function - it is due to the fact that the function is only called once at the app start.
  useEffect(() => {
    (async function() {
      // Activate AR camera
      await viewarApi.cameras.arCamera.activate();
     })();
  }, []);
Activate tracking provider
Use the ViewAR API functionality to activate the appropriate tracking provider.
  useEffect(() => {
    (async function() {
      // Activate ar camera
        viewarApi.cameras.arCamera.activate();

        // Activate tracking (if tracker available).
        if (viewarApi.tracker) {
        viewarApi.tracker.on('trackingTargetStatusChanged', updateTracking);
        await viewarApi.tracker.activate();
        } else {
        setTracking(true);
        }
     })();
  }, []);
and
export default () => {
  const [tracking, setTracking] = useState(false); // make sure you are familiar with React Hooks
  const [instance, setInstance] = useState(false);

  const updateTracking = () => {
    setTracking(viewarApi.tracker.tracking);
  };
Test it!
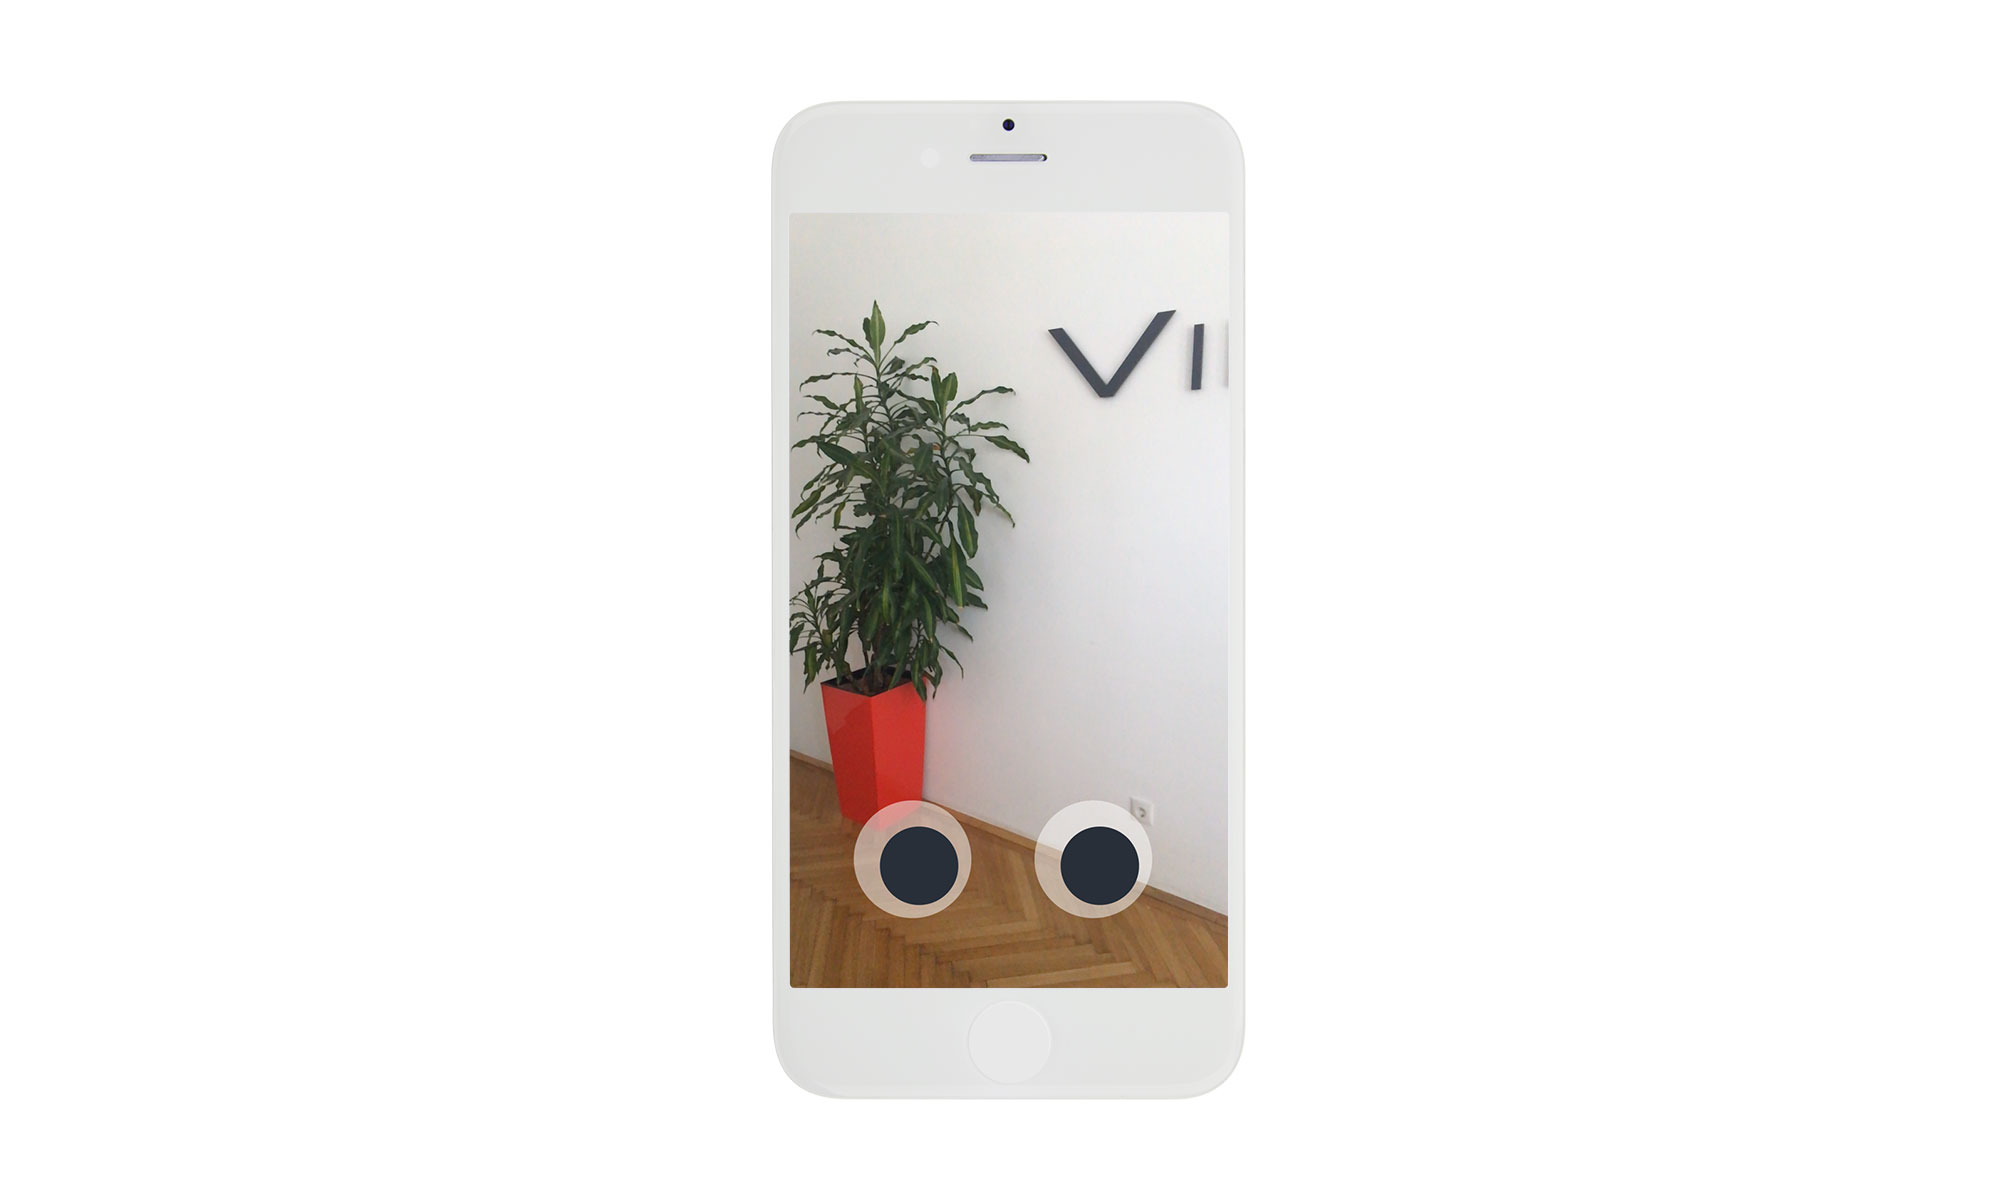
At this point, you should be able to run the app on you mobile device and see the image from its back camera.
 Screenshot from the Drone Control App